Installing The Grave Saver™
Installing the Grave Saver™ is a simple process that anyone can do!
The basic tools that you will need to install the Grave Saver™ are:
- Grave Saver™ Kit
- Shovel
- Bucket or Bag of Play Sand or Patio Block Sand
- Broom
- Utility Knife or Scissors
- A Pair of Gloves
Download & Print Instructions (PDF)
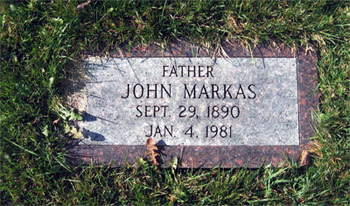
To install the grave saver™ for an existing grave marker you will need to prep the marker a little. Simply clear away any grass that has grown over the stone to find the edges of the cemetery marker.
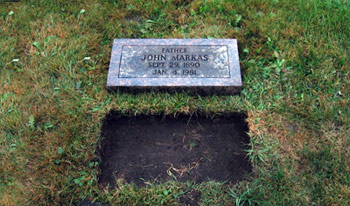
Once you have found the edges of the marker use your shove to pry up the grave marker and simply flip it out of the hole. Once you have the grave marker out of the hole you may need to trim the edges a few inches so that the Grave Saver™ can fit into the hole.
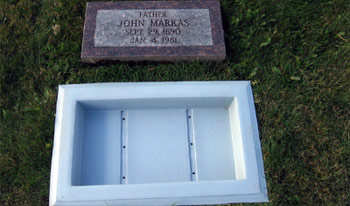
When the hole is prepared it is time to put in the Grave Saver™ and check the fit and alignment. You want to make sure that all of the flanges (sides) of the Grave Saver™ have equal pressure distributed to them. The easiest way to do this is to put the Grave Saver™ into the hole, and then stand in the Grave Saver™ and simply bend down and pull on the sides. Once you have the pressure evenly distributed you will want to check and make sure that the Grave Saver™ is properly aligned with the other grave markers at your site.
The next step is putting the grave marker into the Grave Saver™. To make this easier there are plastic straps included in the Grave Saver™ kit. These straps can be placed underneath either side of the grave marker and used to help lift the stone into the Grave Saver™. Once you have the grave marker in the Grave Saver™ you can use your utility knife to cut the straps and pull them out from underneath the grave marker. Or you can gently lift up the marker to remove the straps. Make sure that the grave marker is centered in the Grave Saver™ before beginning the next step.
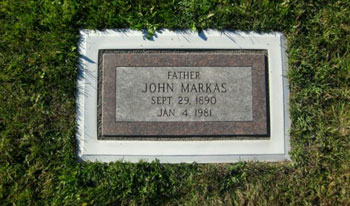
Now it is time to take your sand and use it to fill in the small gaps between the grave marker and the Grave Saver™. This prevents the grave marker from moving, helps to even out the pressure in the Grave Saver™, and prevents dead leaves and grass from cluttering the Grave Saver™. Simply pour some sand around the marker, pack it in around the edges, then use your broom and shovel to clean off any excess sand that remains on the marker and the Grave Saver™.